BUILD A QUOTE

Wood + Aluminum
Horizontal Fence
Installation

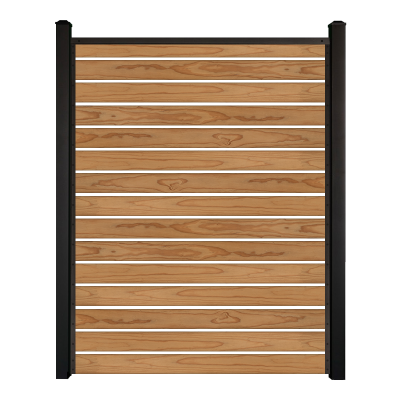
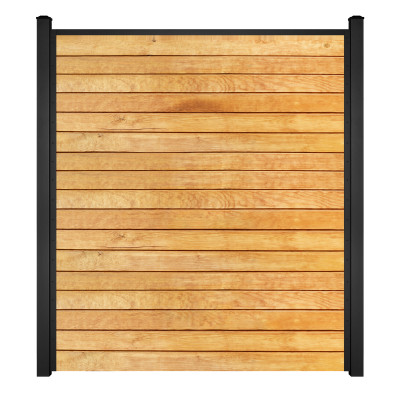
The SLIPFENCE is specifically designed for homeowners who want a warm and private wood fence, with the Stability and Endurance of an Aluminum Fence... AND... Simple to install.
Style
Fully-Private
Semi-Private
Size
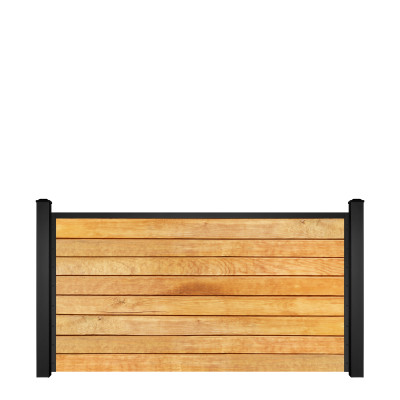
4ft. Fully-Private
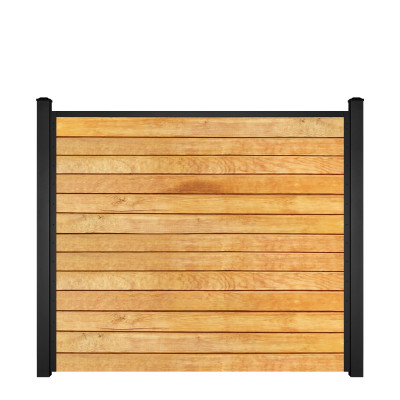
6ft. Fully-Private
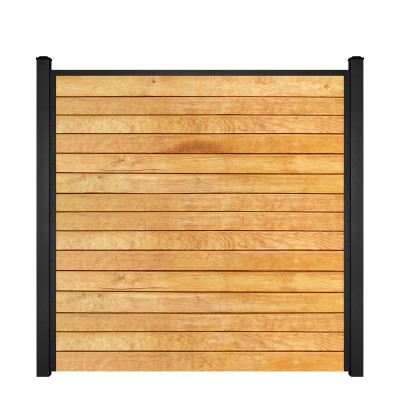
7ft. Fully-Private
8ft. Fully-Private

6ft. Horizontal Fully-Private Wood Fence Installation Instructions

6ft. Fully Private Horizontal Wood Fence Installation
1.

When planning your Standard Horizontal SLIPFENCE installation, make sure to map out your fence posts exactly 6 feet between posts (75" on centre of post). This system uses deck boards 5/4"x6"x 6 foot long. Actual dims are : 1"x 5.5"x 6 feet. 12 foot boards delivered to site and then cut to size is recommended.
2.

Dig 8" diameter post holes 36” to 48” deep and fill the bottom with a few inches gravel if required… (colder climates may require a deeper post-hole).
3.

Insert the Square Aluminum post into the hole and ensure that the post is at least 76” from the ground to the top of the post for a 6 foot fence. If the post is less than 76" above ground, you can pull the post up when the concrete is still wet to set the post. If it is higher than 76" this is Ok as the posts can be cut to size after completing all installation steps. 

HOT TIP!! Mix your concrete to the consistency of cake batter, not soupy. The post will sit straight with no movement once level and plumb.
FOAM products are NOT recommended to set the posts. 
4.

Pour concrete into the hole around the post to set, and while the concrete is still wet, level and plumb each post on both X and Y Axis and make sure there is at least 76” to the top of the post for a 6’ high fence.
5.

Place one 6ft long deck-board FLAT on the ground. This provides the proper space between your posts.

Repeat this same procedure for all posts in your fence project.
6.

When the concrete has dried (24-48 hours), mark the bottom of your first post at approximately 1-1/2" above ground level on the inside of the post that faces the second post in the fence line.  
7.

Place the side channel against the inside of the fist post as close to the centre of the post as possible and sitting on top of the pencil mark at the bottom of the post (1-1/2" above ground level). Level and plumb this channel in the centre of the post then fasten the channel to the post with the silver flat-head stainless steel self-drilling screws provided in the kit. 
8.

Once the first side channel is fastened to the first post, rest the lighter gauge top cap rail on top of the fixed side channel (you can also use a string-line level between posts). Using a speed square, raise the cap rail to up level and mark the second post on the inside with a pencil providing the top level mark for the second channel to be fastened to the post. 
Line up the top of the second side channel with this pencil mark and fasten the channel to the second post with the self drilling screws provided. You will now have two channels facing each other between two posts that are exactly level with each other. 

HOT TIP!! Make sure the length of your 5/4"x 6" deck boards for this panel are cut approximately 1/2" less than the total length between the inside of the two posts to allow for thermal expansion and contraction of the wood as the season changes.
9.

Slip the first bottom board or "base" board between the two channels. Make sure the bottom of the board is flush with the bottom of the channel PRIOR to fastening, ensure this board is level and fasten on both side channels with 4 wood screws included on both sides of and each end of the board. This creates a solid base for your next boards, it also allows a 1-1/2" lift above the ground to allow for air flow and water run-off between properties. 
10.

STEPPING SECTIONS: If the ground is not level and one end of you panel has a gap from the bottom of the board to the ground you can do one of 4 things to reduce that gap: 
 a) Take the earth that was dug out of the post hole and spread it along the bottom underneath the base board where the gap is. 
 b) Dig out some of the earth from the side of the base board that is closest to the ground until the base board is level and there is smaller gap underneath. 
 c) Shorten the space between the posts so the level step sections are shorter and the gap can be covered more easily by these two methods. 
 d) If there is a large gap under one side of the panel, keep the flat board laying on the ground, level your base board on top of this board and measure the gap on the wide end between the flat board laying on ground and the bottom of your base board and the length of where the base board touches the flat board. Then remove the base board and create a wedged board or boards to be fastened to the bottom of this base board using screws and glue. Once this new base board has been created and dried insert it into the bottom as your base board again and it should now be level on top and close the gap on the bottom.
11.

Install all of your base boards in your fence line (one per section) before starting to stack the other boards in the panel. This will keep the posts level in your fence project during installation and prevent them from pulling toward the finished panel.
12.

Once the base board is secured with the wood screws provided, slip in three boards into the channels on top of the base board throughout the fence line. You can secure these boards now or wait 3-4 weeks to allow them to dry out and shrink. Secure these few boards with wood screws through the screw holes in the channels as they stack to reduce the overall weight of the full stack of boards on the bottom base board.

Do not stack or finish one full panel at a time. This could pull posts toward the finished panel. Create a low stack, for each panel in the fence line, (4 boards), then mid height, (another 4 boards), then top, (last 4 or more boards) until the desired height of you fence is met.

Please allow 3-4 weeks for the deck boards to dry out and shrink. The height of each board will probably shrink 1/16"-1/8" of an inch, the boards will settle or might need to be gently tapped into place (ensure they are level). After all boards shrink and settle, the boards can be fastened. 

Repeat these steps to secure and stack all boards into the panels in each fence line of your project making sure the stacks of boards are remaining level as you slip in boards.
13.

Once all the boards have been inserted and the fence looks complete, FASTEN the top board only of each section. This will secure the stack for the interim (until the boards dry out and shrink). After the 3-4 week drying out phase, go back and secure all boards with the black wood screws provided and refasten the top board with all 8 screws. 

HOT TIP!! To prevent small, uneven gaps appearing between board: ALLOW 4 WEEKS FOR THE BOARDS TO DRY OUT AND SHRINK. 

If posts need to be cut down, a metal blade on a circular saw can be used on one side of the post and then finish with a metal blade on reciprocating saw to finish. OR if only a reciprocating saw is available, the first few cuts should be done with a hacksaw to provide a blade guide and help eliminate the reciprocating blade from jumping and chopping at the initial cut of the post.
14.

Each post should sit approximately 2” above the top of the fence boards for a nice clean look. Posts can be easily cut down with a metal cutting blade on a circular saw (if necessary) or portable metal band saw.
15.

Tap on the "self-tightening" Aluminum post cap with a rubber mallet to all posts. 
16.

Gates:
Custom width Gates can be added anywhere in your fence line on site with the Slipfence Gate kit, (SF2-GK200), Instructions for the Slipfence Gate kit are enclosed in each kit and fasten easily to a Square Aluminum Fence post. For taller and wider gates we recommend using fence pickets for your horizontal infill (1"x6"x cut to width of gate). This will create a lighter gate.